Importing Spreadsheet (CSV) Data into CreataCRM
This is advance import tool that would need guildance and training, This Tool can import into most tables, which would requirement a knowledge on what table you are importing into and what would be the cause and effect if the import is incorrect. Smart hands will be require if you need to fix an incorrect import Fees and charges will apply.
Finding the Importer
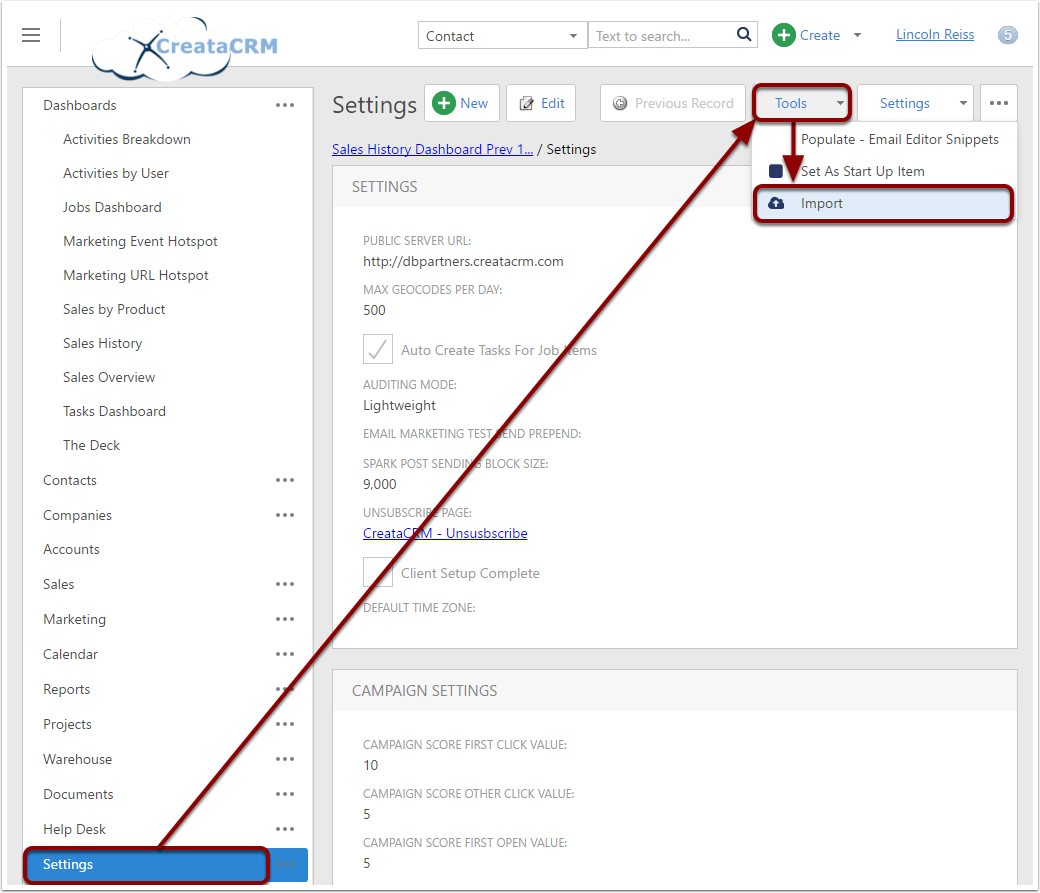
Navigate to Settings, then look for Import under the Tools menu
Configuring the Importer
When you click on Import, a popup will appear.
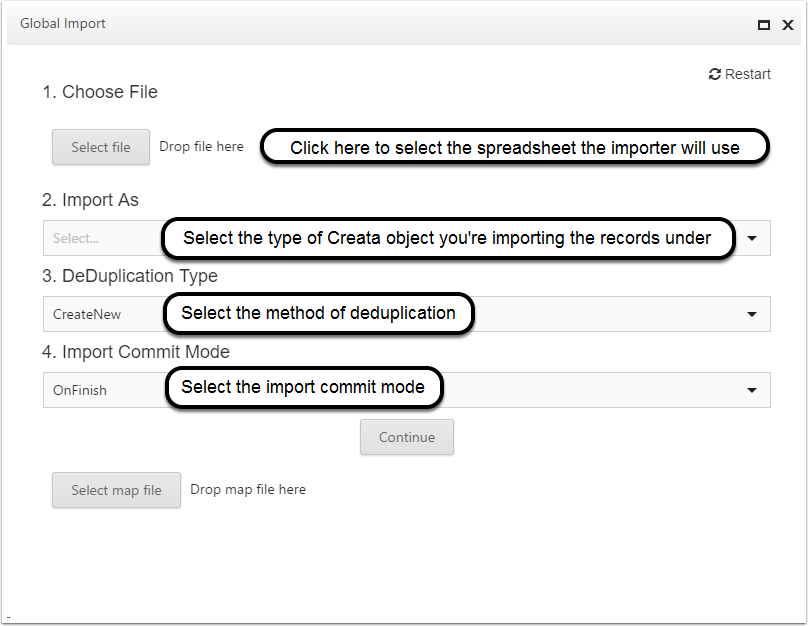
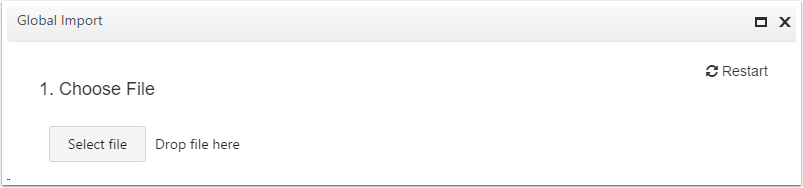
Selecting your Spreadsheet
Click on the Select file button. You will be prompted to select a file from your computer. Select the spreadsheet that you want to import. The speadsheet must be in a Comma Delimited (.csv) format.
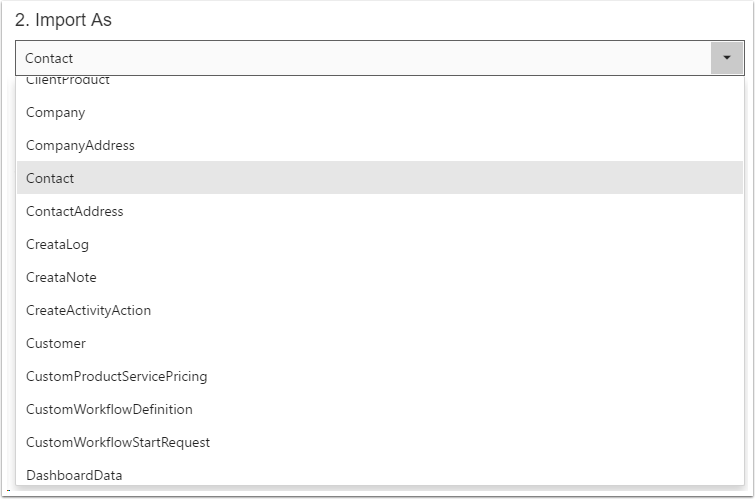
Import As
The Import As dropdown contains all the object categories that you can import data as in CreataCRM.
For most purposes, you will be choosing between Contact, Company, Account, or Activity.
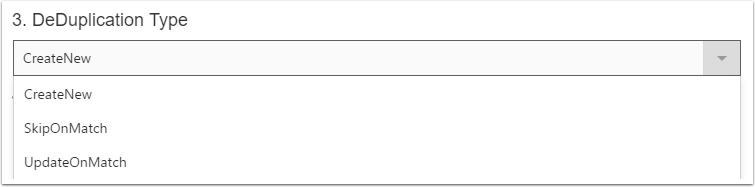
Deduplication Types
There are 3 types of deduplication:
- Create New - When importing, a new object will always be created for each record in the spreadsheet.
- Skip On Match - For each record in the spreadsheet, the importer will look for an object in CreataCRM that matches with that record. If it finds one, the record will be skipped.
- Update On Match - For each record in the spreadsheet, the importer will look for an object in CreataCRM that matches with that record. If it finds one, it will update the object with the details from the current record.
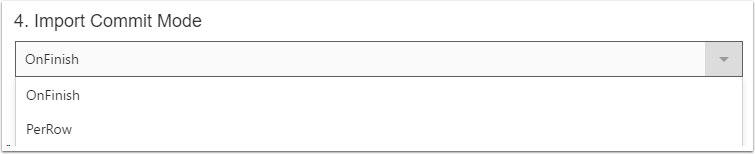
Import Commit Mode
Import Commit Mode is a technical aspect of the importer; it decides when to save the imported data into the database:
- On Finish - The imported data will only be saved into the database once ALL records from the spreadsheet have been successfully imported.
- Per Row - As each record of the spreadsheet is imported, it will be saved individually to the database.
In general, you do not need to worry about this option. However, if you are importing multiple objects per record in the spreadsheet (i.e Importing a Contact AND it's Primary Company), then you must use 'Per Row'. Otherwise, the objects will not be linked to each other in CreataCRM.
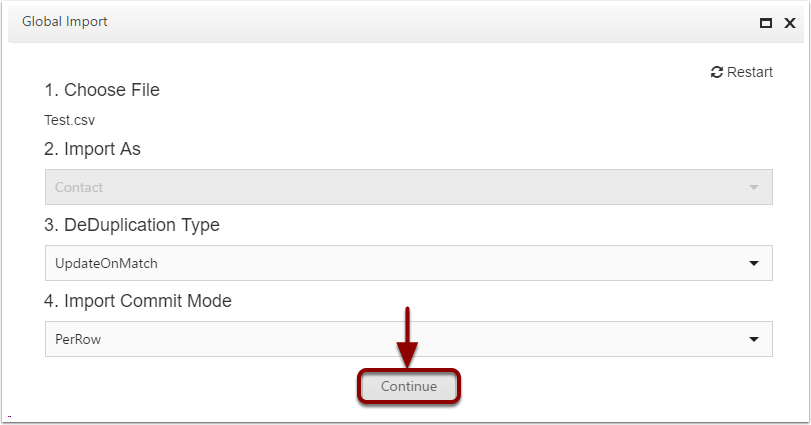
Starting the Mapping process
Once you've configured the importer as needed, start the mapping process by clicking Continue
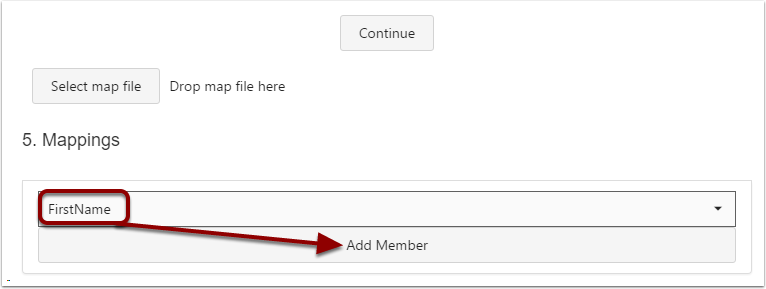
Adding a Field Map
The section Mappings should now appear. This is where you will add the Field Maps.
To add a Field Map, select one of the CreataCRM fields in the dropdown, and click Add Member.
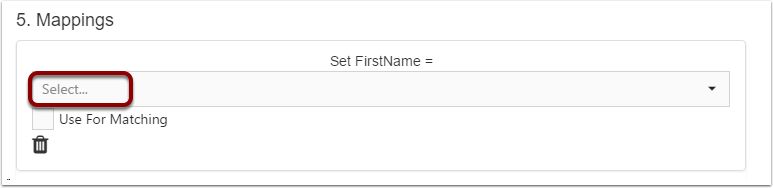
Mapping the Field to a column in your Spreadsheet
Once you clicked Add Member, a section will appear with the Field Mapping details
- Select... - Use this dropdown to select the column in the spreadsheet that should be imported into this field
- Use For Matching - Tick this if you want to deduplicate based on matching with this field (recomended for KEY fields with unique values)
You can click on the Bin icon to remove the Field Mapping.
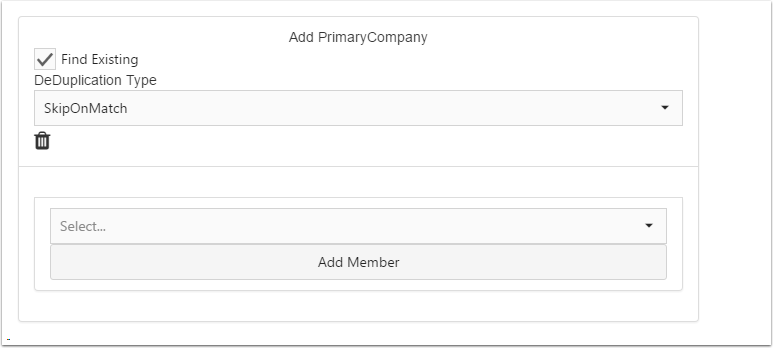
Mapping Linked Objects (PrimaryContact, PrimaryCompany etc)
If the member you chose is a reference (links to a seperate object in the database, i.e PrimaryCompany), then you will be given additional options:
- Find Existing - Keep this ticked if you want to dedupe the field (i.e Find the Primary Company if it already exists)
- Dedupliaction Type - Same options as the Importers Deduplication Type. Use this to specify how you want the reference to be Deduped.
Once you've specified the required options, you can add child Field Mappings in the same way you did above, by selecting a CreataCRM field, and clicking Add Member
As mentioned in the Import Commit Mode section, you should set the Importers Import Commit Mode to Per Row. If it is left as On Finish, the reference data will not link correctly.
Mapping Address Fields
In CreataCRM, Addresses are stored as seperate objects, linked to their respective Contact/Company/etc via references. Contacts have MainAddress, and Companies have PrimaryBillingAddress and PrimaryShippingAddress.
Please see below as an example of how to import a Contacts MainAddress
- Find Existing is unchecked; we are now given the option Create If Blank. We have ticked this, because we always want a MainAddress to be added to the Contact.
- We have added mappings for Line 1, Line 2, City and Postcode. You can also add additional mappings for Line 3, State, and Country, if required.
Again, it is also good practice to set the Importers Import Commit Mode to Per Row, to make sure the references link correctly.

Using Map Files
When configuring the Importer, it is possible to save your configuration to a file on your computer. This is extremely useful if you're are going to be using the exact same mappings for multiple spreadsheets.
Saving your current Mappings to a Map File
Click on the Save Mapping button, and your current Importer details will be downloaded as a .json file on your computer (by default, the file will be saved in your Downloads folder)

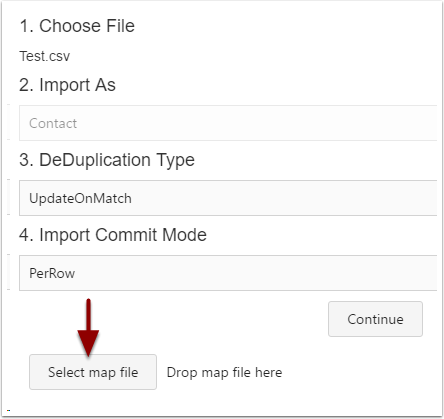
Loading Mappings from a Map File
Click on the Select map file button, and you will be asked to select a mapping file. Once you select the mapping file (.json) of your choice, the Importer will refresh it's configuration, and you should see all the settings from the file have been put into the Importer.
Running the Import
Click on the Run Import button. An alert will tell you that the import is running in the background. You can check the progress of the import in the Background Tasks section.
