Setting up Imap Sync for emails
This article describes how to set up Imap sync for emails from within CreataCRM. Both Global and per-user settings are used to inform the system on how to sync the data.
Open the Global Sync Settings screen
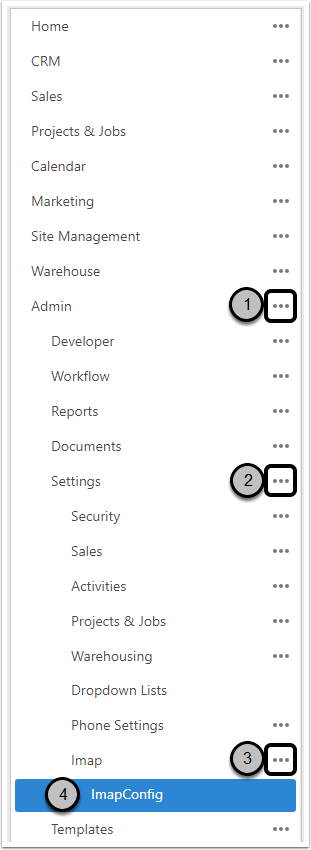
In the navigation menu:
- Expand Admin
- Expand Settings
- Expand Imap
- Click on Imap Config.
Global Sync Config for Imap
Global and default sync settings can be set up on this screen.
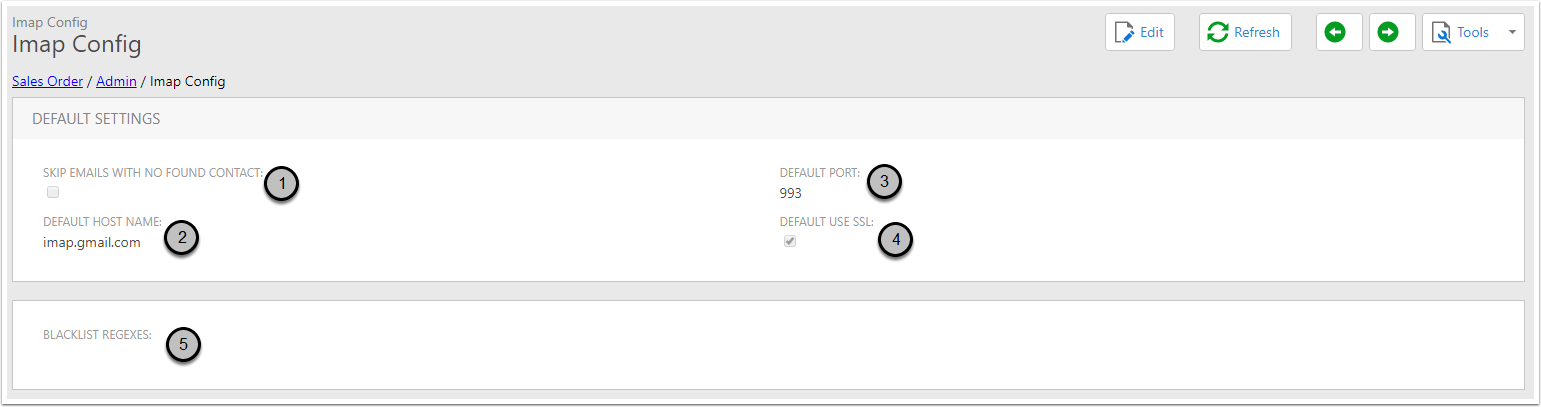
- Skip Emails With No Found Contact: If this option is enabled, a synced email will not be attached if there are no contacts in the database with the email address of one of the recipients of the email.
- Default Host Name: The host name that will be used as the default for each user's settings.
- Default Port: The port that will be used as the default for each user's settings.
- Default Use SSL: Whether to use SSL when connecting. Will be used as the default for each users individual settings.
- Blacklist Regexes: Any email addresses that match one of these search patterns will not be considered when searching for contacts to attach the email to. If all recipients on an email are blacklisted and the Skip Emails With No Found Contact option is enabled, that email will be skipped when syncing.
Open the Imap Settings screen
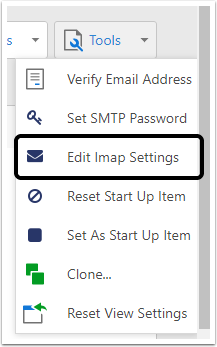
Navigate to the detail view of the user whose details are being edited. On the user's record, in the Tools menu, choose the "Edit Imap Settings" option.
The Imap Settings Screen
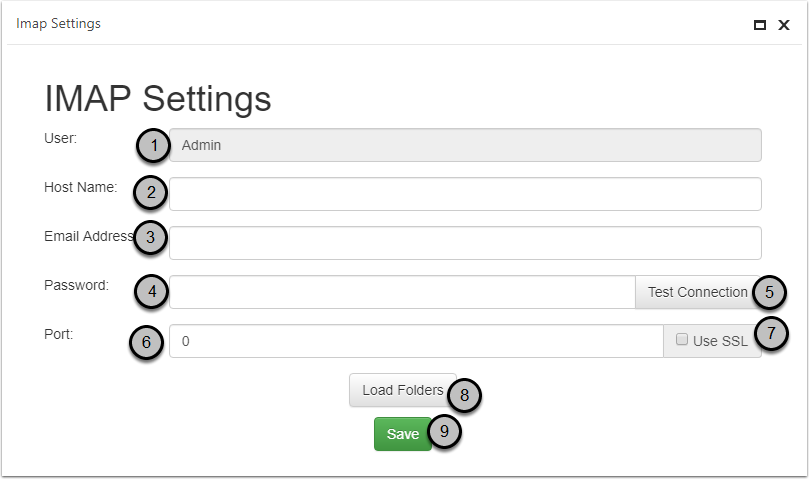
Some of these fields will be set to default values based on the global Imap Config settings.
- User: the name of the user whose details are being edited. This field cannot be changed.
- Host Name: The name of the email host to connect to. This will auto-populate from the global Imap Config.
- Email Address: The email address of the mailbox to connect to.
- Password: The password associated with that email account.
- Test Connection: Click this button to confirm that the connection is working.
- Port: the port to connect on. This will auto-populate from the global Imap Config.
- Use SSL: Whether the connection will use SSL. This will auto-populate from the global Imap Config.
- Load Folders: If connected, will display a list of email folders that can be synced - see below for more info.
- Save: Save the connection details.
Testing the connection
Once the fields have been filled in, you can click the Test Connection button to check if the entered details can be used to connect to the mail server.
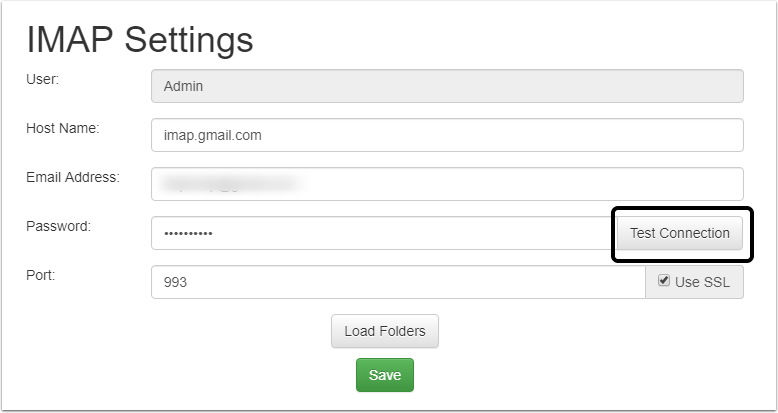
If the connection was successful the button will change to a green background.

However if the connection is not successful, the button will turn red. In this case you should ensure the email and password have been entered correctly and that all other details are correct.

Getting the Folder List
Once the connection is successful, you can click the Load Folders button. You will get a list of all of the available folders for the current mailbox.
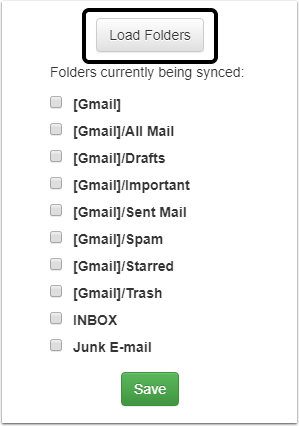
Each of the folders can be selected individually. Check the box next to the folders that you want to sync. Our recommendation is to sync only the folders containing Sent Emails.
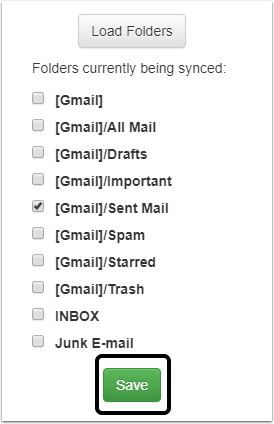
Save the settings
Click the Save button to save the settings to the database.