Customize Your Navigation
Customize an app’s navigation bar so that the user interface suits the unique way you or your team works.
It's a good idea to create a navigation for each of your groups of users like Sales, Marketing etc.
Theses customizations will give your users quick access to the records that are important to them as well as any frequently used places in CreataCRM.
Let get started! 👍
Creating a New Navigation Config
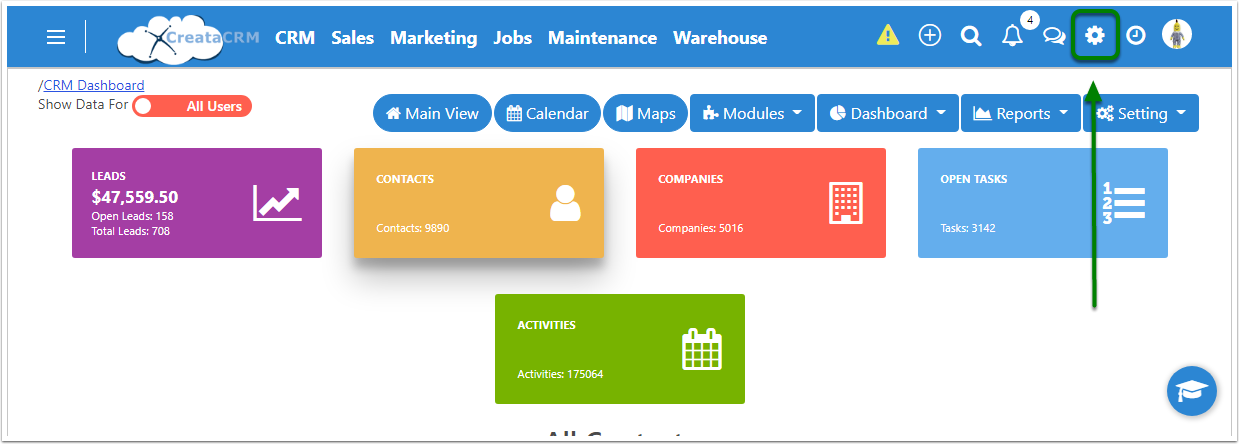
First you will need to open settings. This is located in the top right of CreataCRM. It looks like a cog wheel.
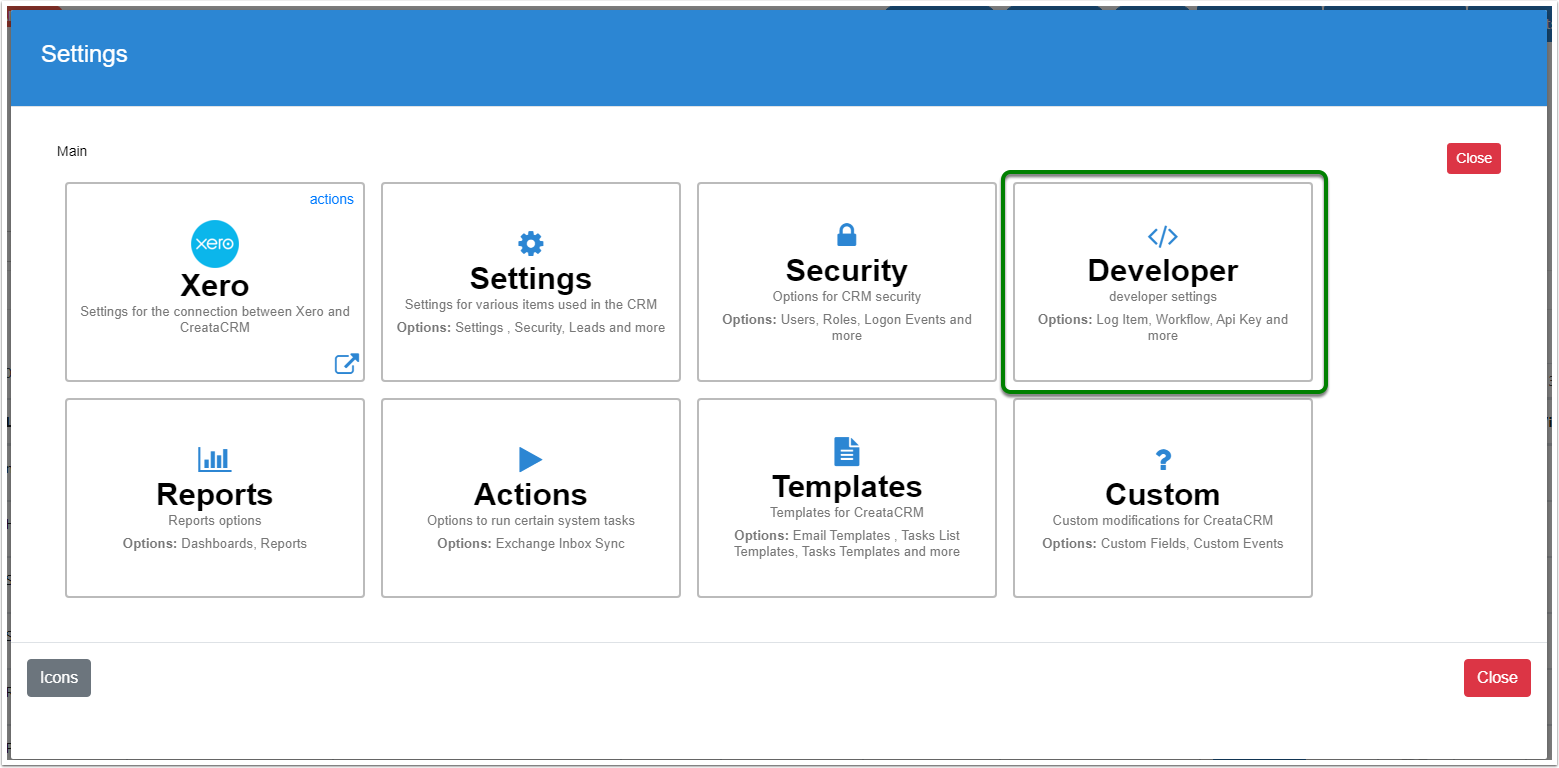
Open Developer
Once the settings window is open click on developer
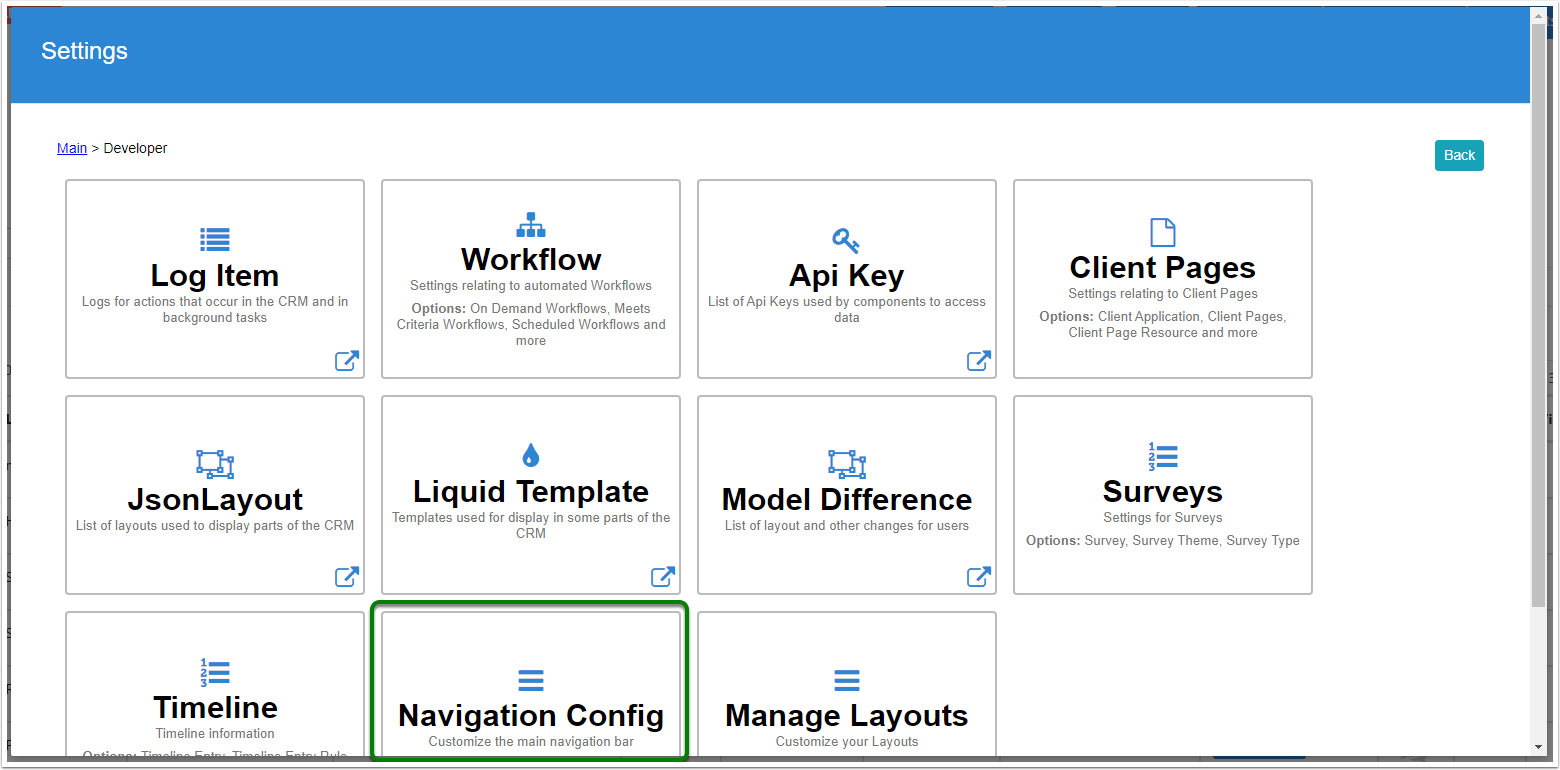
Open Navigation Config
Then click on Navigation Config
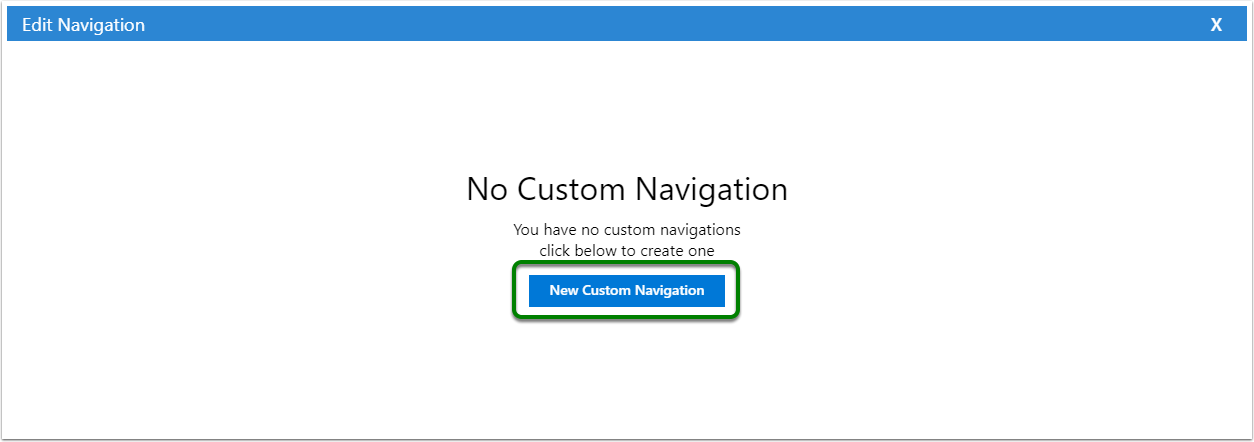
Select New Custom Navigation
Click New Custom Navigation.
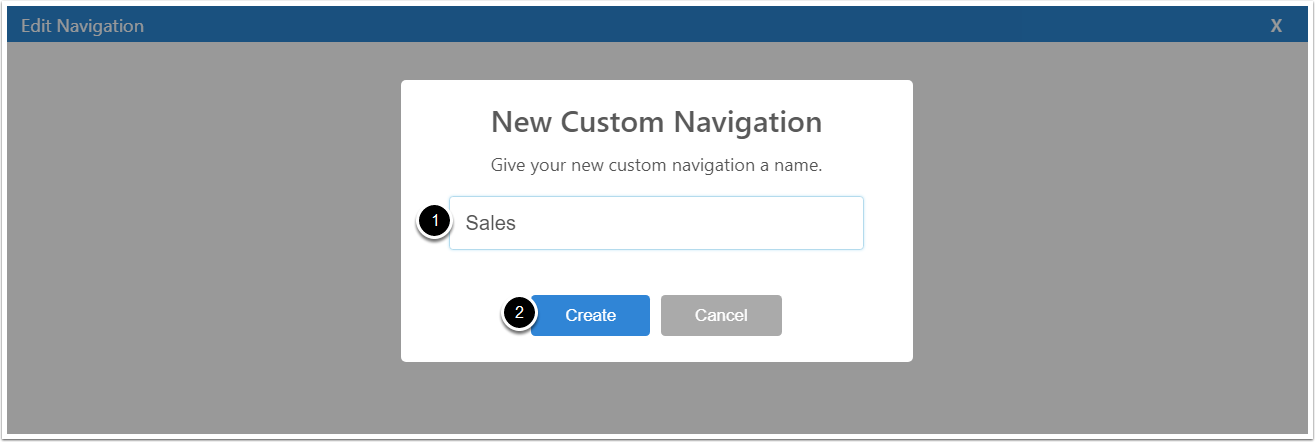
Name Your Navigation
Give Your navigation a name.
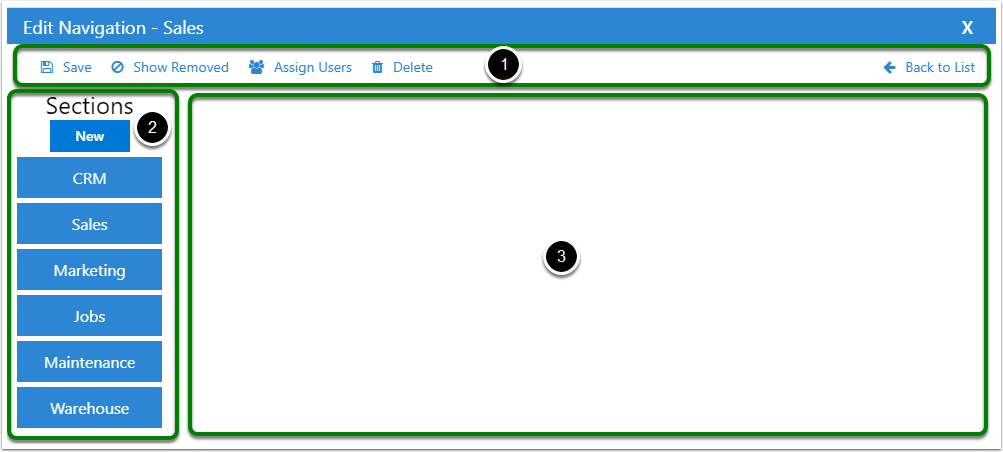
Edit Navigation Layout parts
The edit screen is broken into 3 main sections
- Actions Bar
- Save - Save your changes
- Show Removed - Allows you to see and restore any removed sections for the navigation.
- Assign Users - Assign users to this navigation.
- Delete - Deletes this navigation. Any users that are assigned will go back to using the default navigation.
- Sections of your navigation - These represent each of the drop downs across the top of CreataCRM.
- Editing Area - When you select a section it's editor will display here.
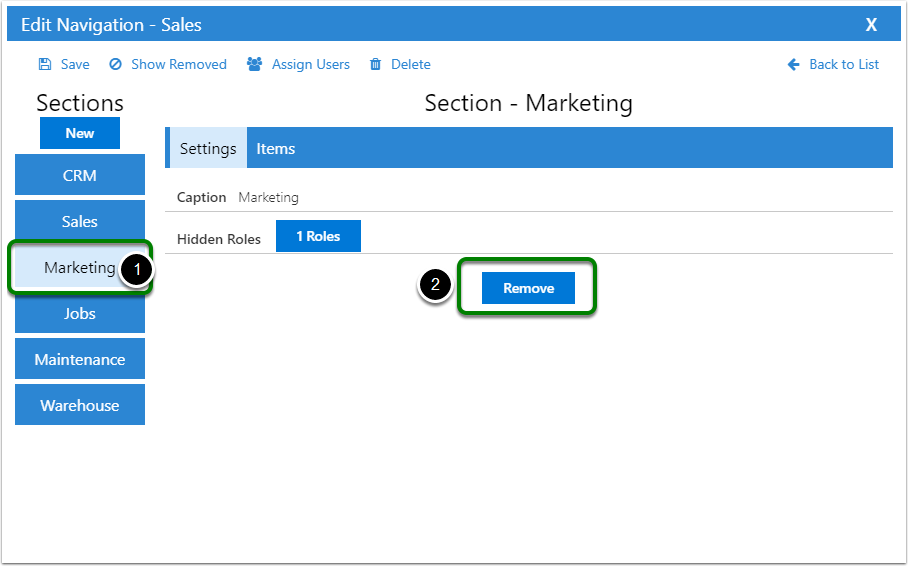
Removing
Let's remove a section from our Sales navigation config.
- Start by clicking on Marketing
- Then click remove
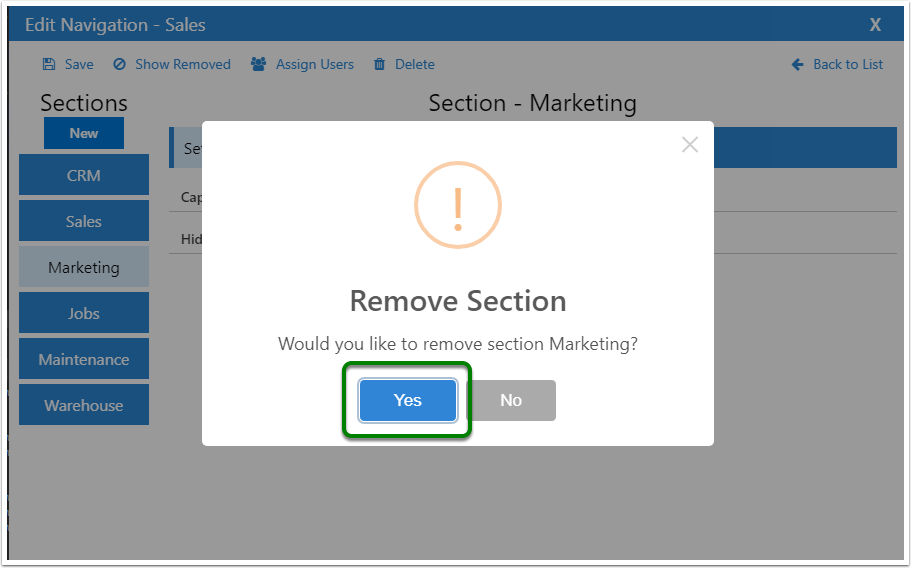
Confirm the removal by clicking Yes.
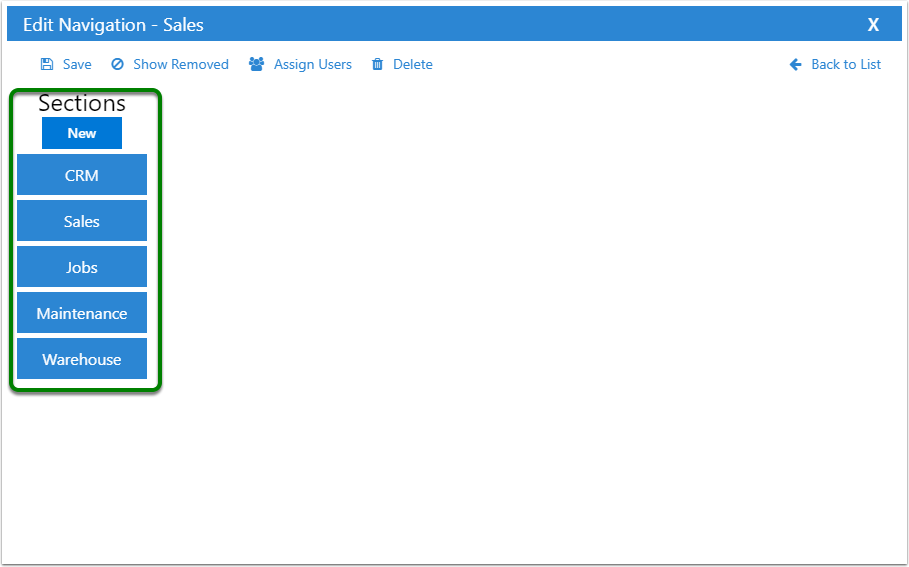
You will now see that your navigation is removed. Repeat this process for Jobs, Maintenance and Warehouse.
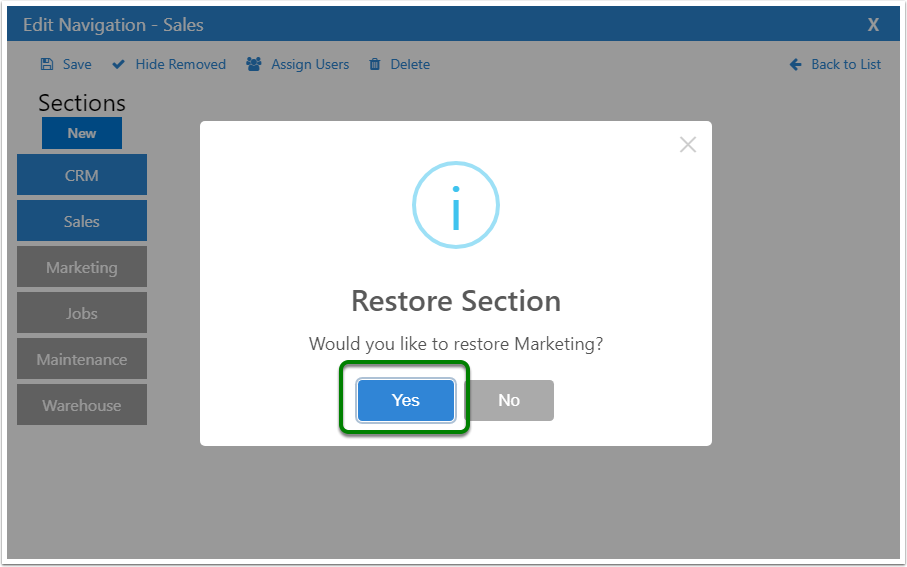
Restore Sections
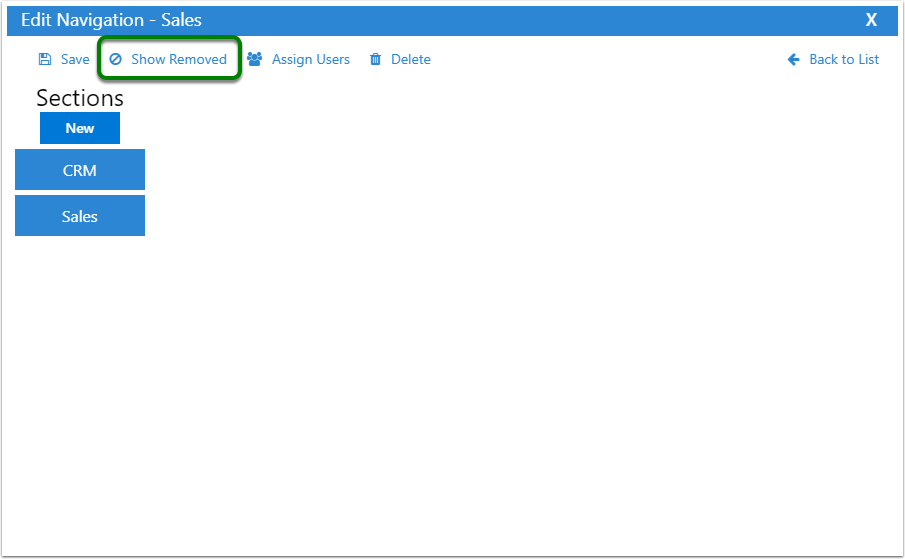
If you would like to restore a section you have removed first click on show Removed in teh top actin bar.
Removed items/sections will show up in grey.
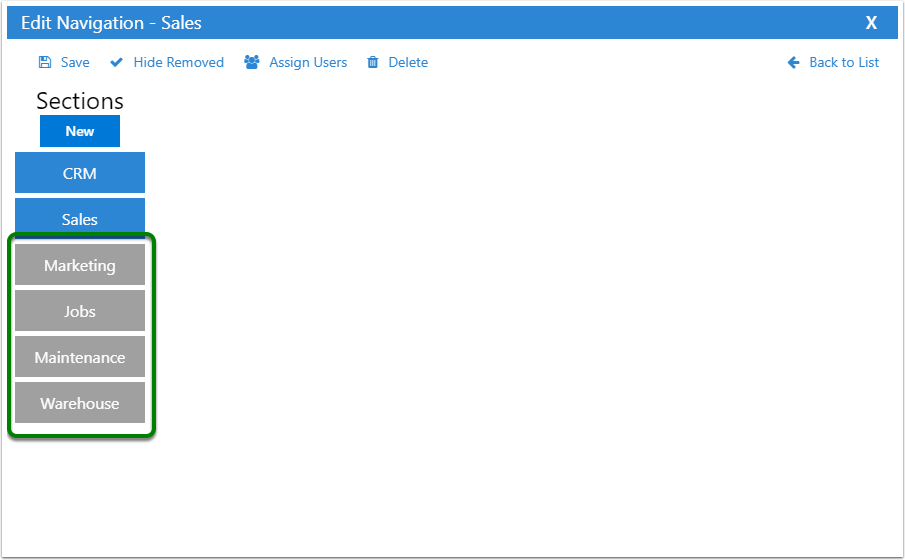
Click on a removed section and confirm to make it available again.
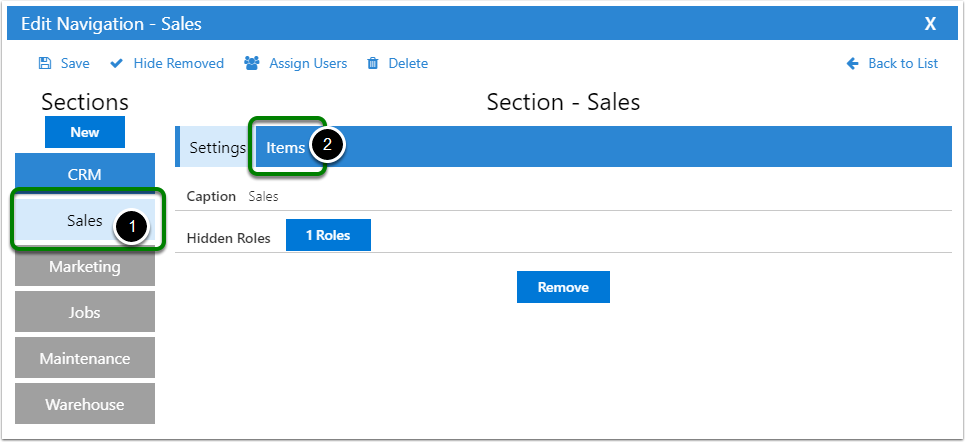
Change Startup Page
Changing the start up page for a group of users is a great way to give them access to the information they need straight away.
- Click on the section that contains the item you would like to use as startup.
- Click Items to see all the items that section has.
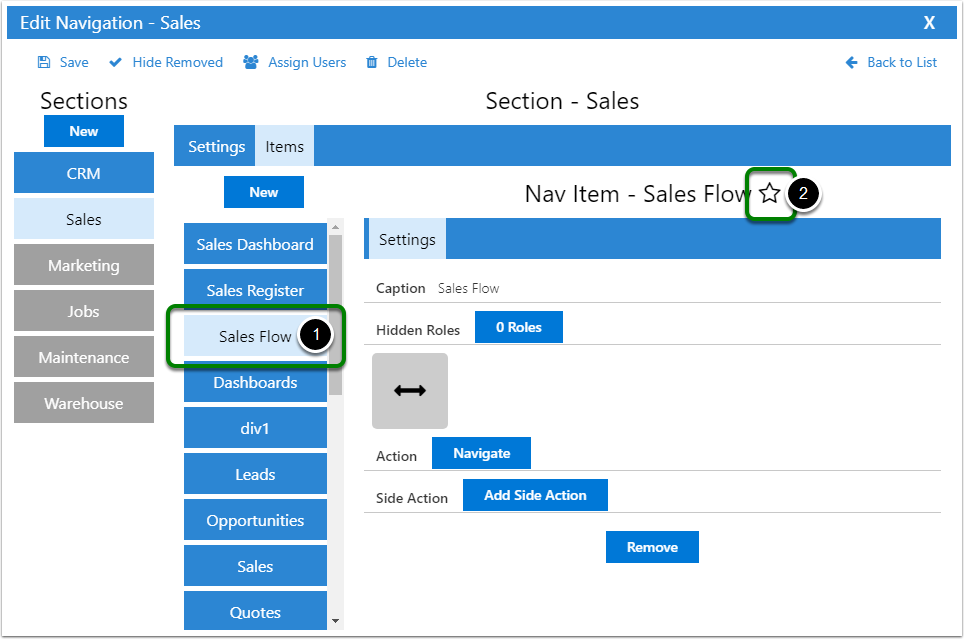
- Click on the item you would like to set as the start up.
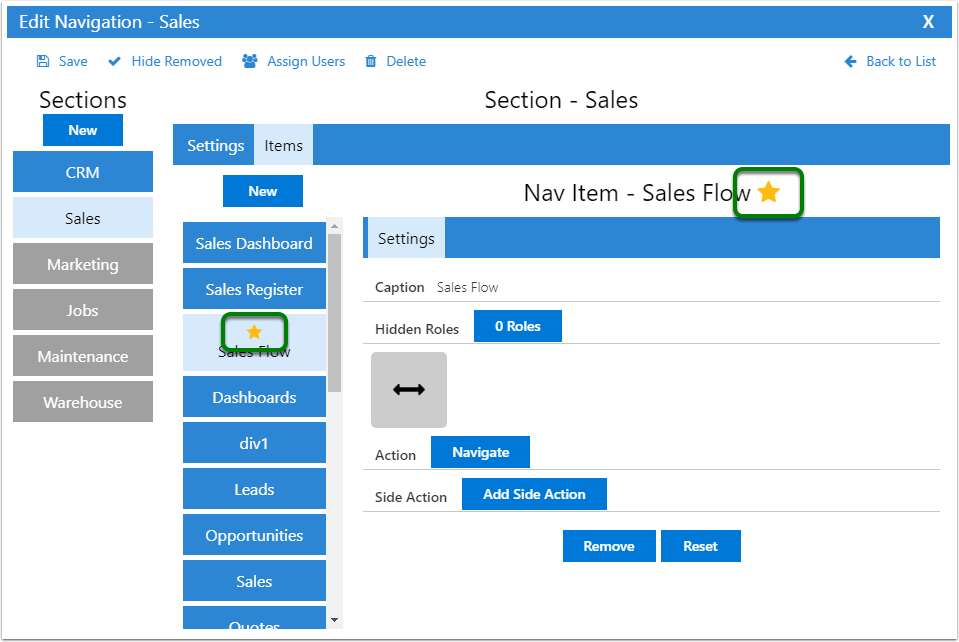
- Click on the start to make it the start up item.
The active startup item will display with a yellow star ⭐.
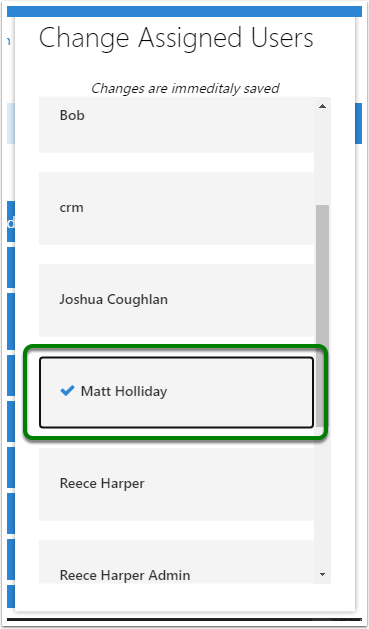
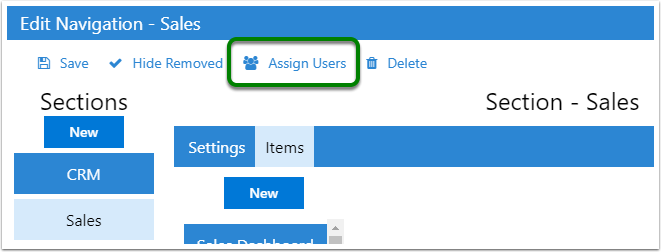
Assign Users
To assign users to your navigation click on the assign users action in the action bar.
Click on the users you would like to assign this navigation config to.
Changes are immediately saved.
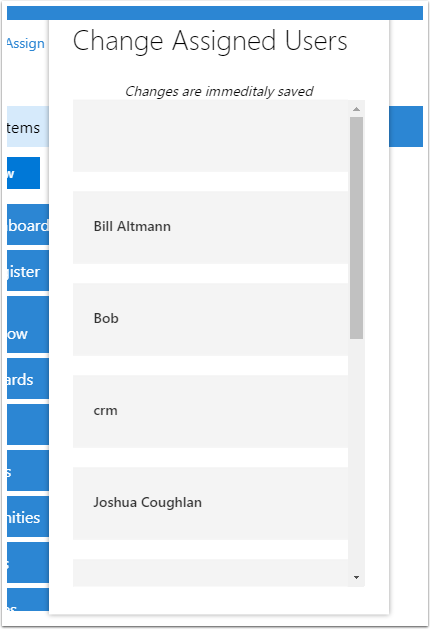
Users that have been assigned to this navigation will have a check mark ✔️ next to their name.